
Translated by AI. This article was originally written in French and translated by Claude, Anthropic’s AI. The French original remains the reference version.
Why should I care?
Split DNS is a clever strategy that lets you reach your self-hosted services the same way, whether you are on your local network or on the Internet.
In short, when you are at home you can access your services through their IP address and port number. But an IP address is harder to remember than a domain name, and a domain name also spares you invalid certificate warnings.
One last point: split DNS is simply essential if you want to use services whose mobile app asks you for the service’s address.
Take the Nextcloud mobile app (Android/iOS), for example. At home, you will manage to configure it with the 192.168.x.y IP address without much trouble. But once you are out and about, it will no longer work (I am deliberately leaving VPN connections aside for this example).
With a domain-name configuration and split DNS in place, no more problems!
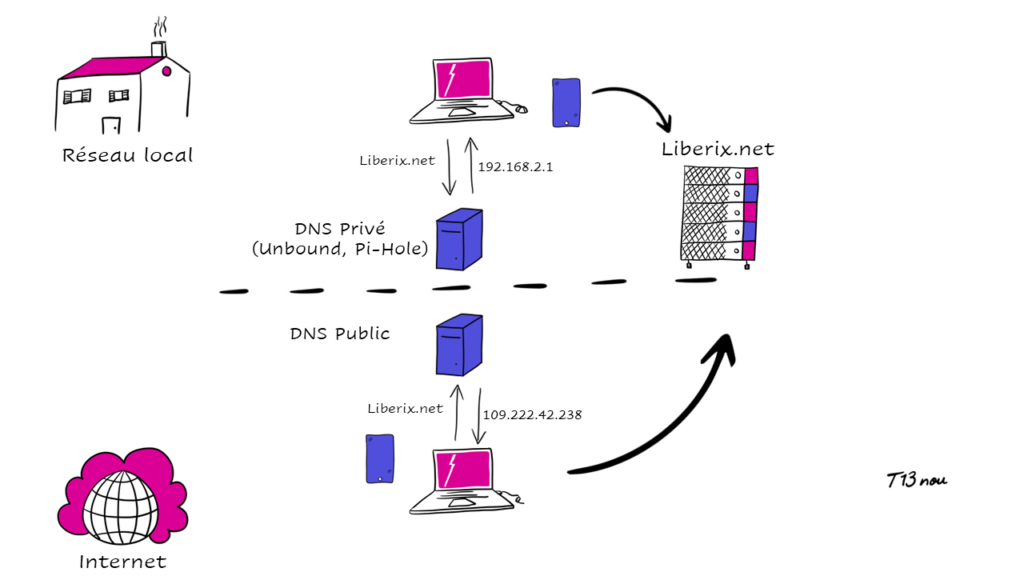
What do you need?
First, you need to understand that setting up split DNS has some requirements, so a quick check of your setup is in order.
| Your ISP box lets you change your DNS servers | Your ISP box does not let you change your DNS servers :'( |
|---|---|
| - Set up one (or two) self-hosted DNS servers (Unbound, Pi-hole) - Configure DNS to resolve your domain names to local IP addresses | - Buy a new router that allows DNS configuration - Set up one (or two) self-hosted DNS servers (Unbound, Pi-hole) - Configure DNS to resolve your domain names to local IP addresses |
Being with the French ISP Orange, I am in the second case, and it was one of the reasons that pushed me to buy a second router, placed in front of my Livebox.
Use case: OPNsense & Unbound DNS
With Unbound, a high-performance DNS server, we can configure split DNS in a few simple steps. I will walk you through the process step by step.
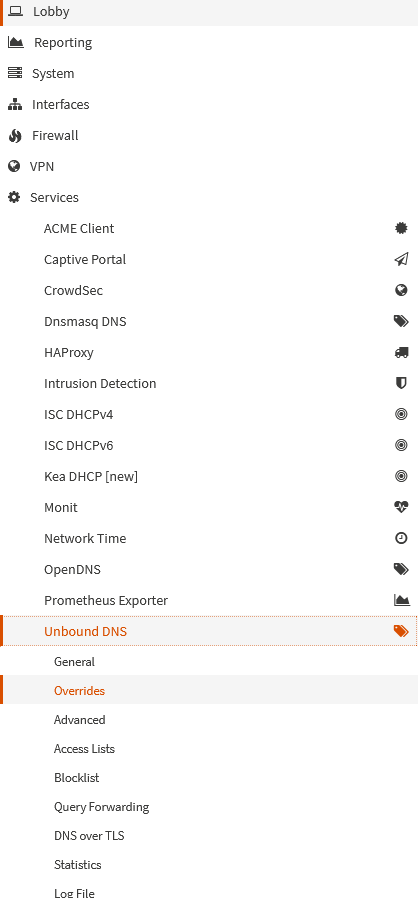
First, open the OPNsense web interface and go to the Unbound DNS section. There, you will find the settings needed to configure split DNS under Services > Unbound DNS > Overrides.
Next, identify the domains you want to handle internally and externally. This step is crucial to define the right DNS routing rules.
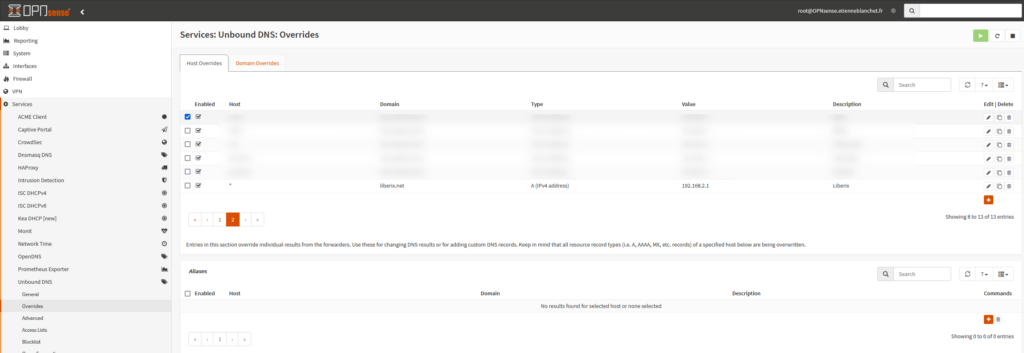
Then simply create an “Override” to tell your DNS server to redirect every request for the domain or subdomain to the IP address of your choice.
If you have been following my articles, you know that I use HAProxy as a reverse proxy. So I simply redirected all requests for “liberix.net” to my reverse proxy, which then routes the traffic to the right machine with the right level of security.
The Pi-hole case
Installing Pi-hole is fairly simple, and once again the time spent / daily benefit ratio is very positive.
How to install it?
You have several options:
If you have a Proxmox server, I recommend keeping it simple and using the ready-made script from https://tteck.github.io/Proxmox/
If you have a small Raspberry Pi gathering dust in a cupboard, you can go with the method suggested by Pi-hole
For this article, I went with the first method.
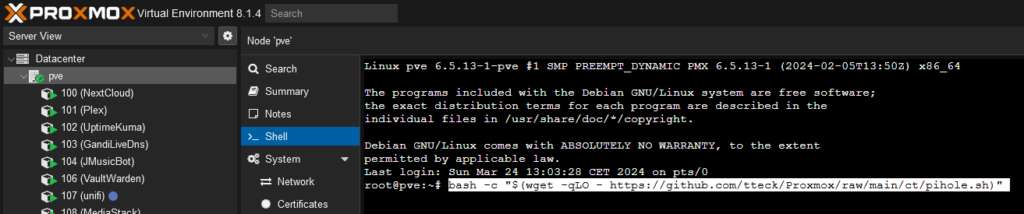
After a few minutes, your Pi-hole will be installed and available at the address shown at the end of the script.
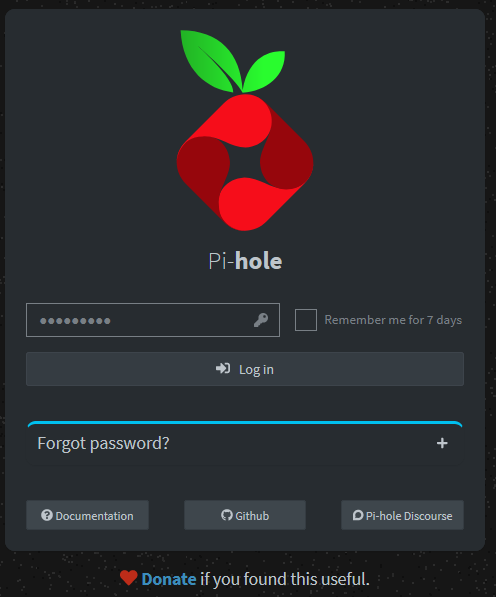
To change the admin interface password, you need to run a command on the machine created for Pi-hole:
sudo pihole -a -p
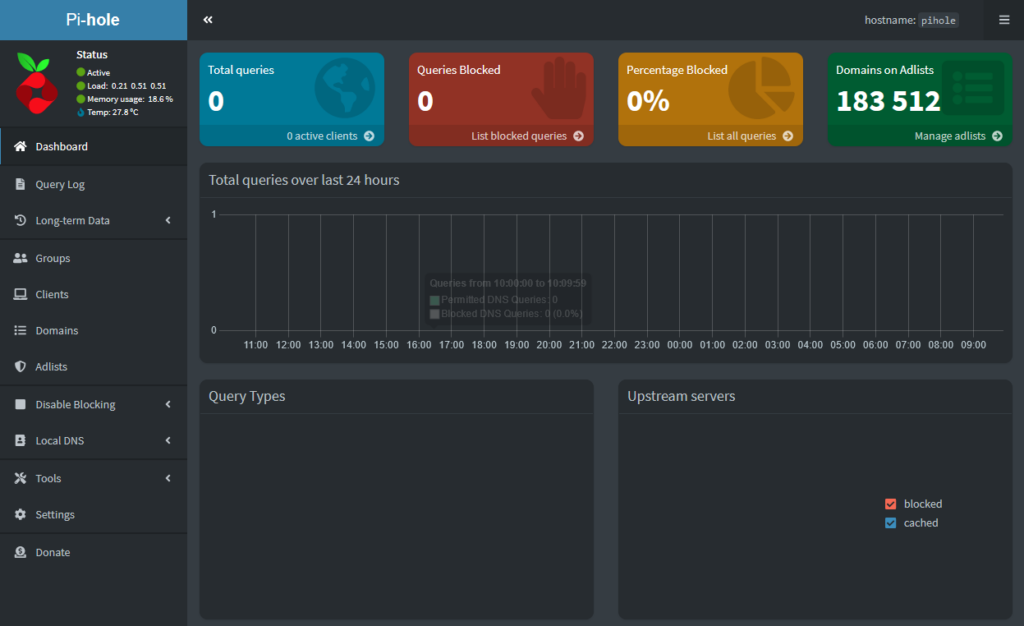
And there you go! 183,512 domain names filtered by default with the default blocklist.
Resolving your domain name locally
To resolve your domain names to their local IP, go to “Local DNS > DNS Records”.
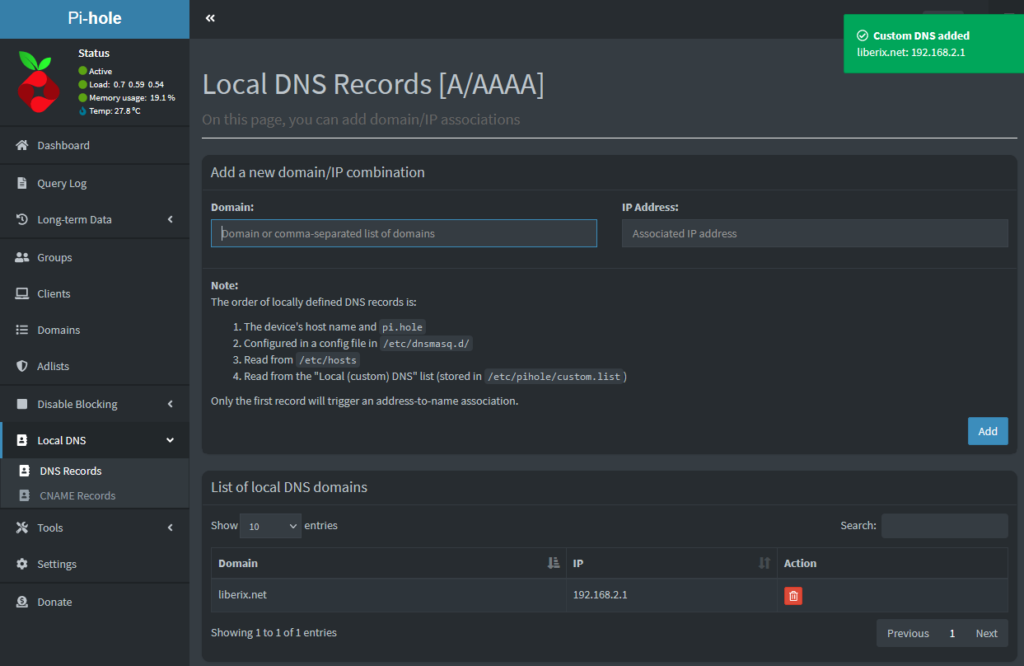
If you have several subdomains you want to resolve locally, I recommend declaring only your domain name as a DNS record and referencing the subdomains as “CNAME Records”. That way, you avoid editing 50 entries if the target IP address changes.
Adding blocklists to Pi-hole
I mentioned the OISD website for blocklists. Adding it to Pi-hole is very simple.
From the admin interface, go to the “Adlists” menu and add one of the OISD blocklists:
| https://small.oisd.nl | Mainly focused on blocking ads |
|---|---|
| https://big.oisd.nl | Blocks ads, (mobile) app ads, phishing, malvertising, malware, spyware, ransomware, cryptojacking, scams |
| https://nsfw.oisd.nl | Blocks porn/shock/adult websites |
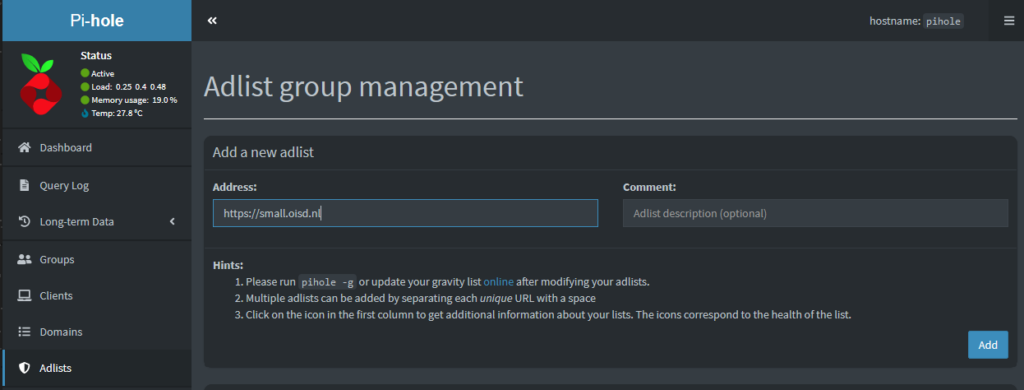
Once added, the list has to be downloaded and loaded into the filtering engine. Go to “Tools > Update Gravity” and click “Update”.
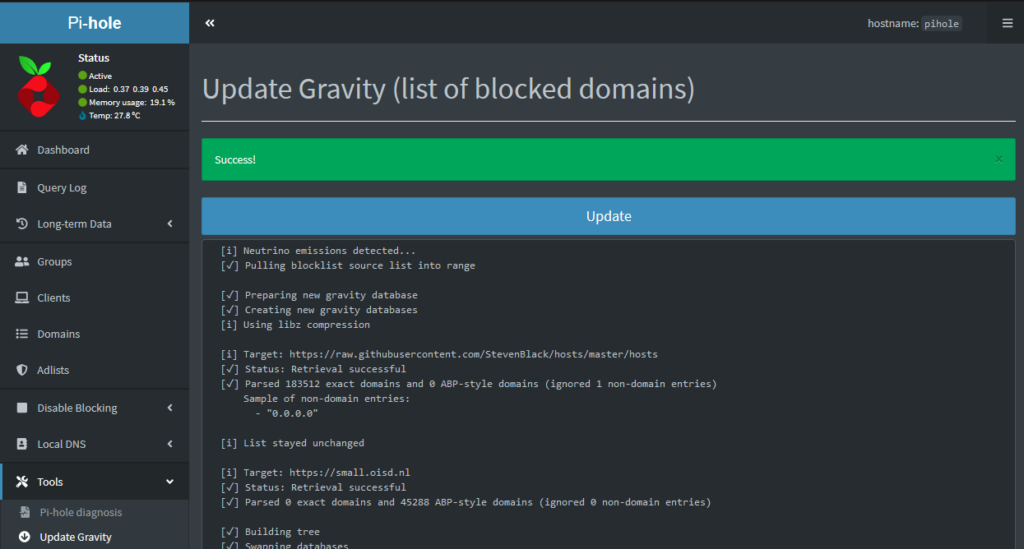
Your adlist now contains 228,800 domains.

Enabling the new DNS server
To activate this new DNS server, simply change your DNS server to the IP of the Pi-hole server.
You can do this either on a single machine or at the level of your ISP box/router.
Hosting your own DNS server(s) comes with a bonus!
Yes: hosting your own DNS servers also opens the door to DNS-based Internet filtering. No more need for uBlock or any other browser extension. Everything happens at the network level, and unwanted traffic (malware, ads, adware, telemetry, adult websites) is simply dropped.
DNS servers are fed with blocklists that you can easily find on the Internet. One of the most popular is OISD, available at https://oisd.nl/.
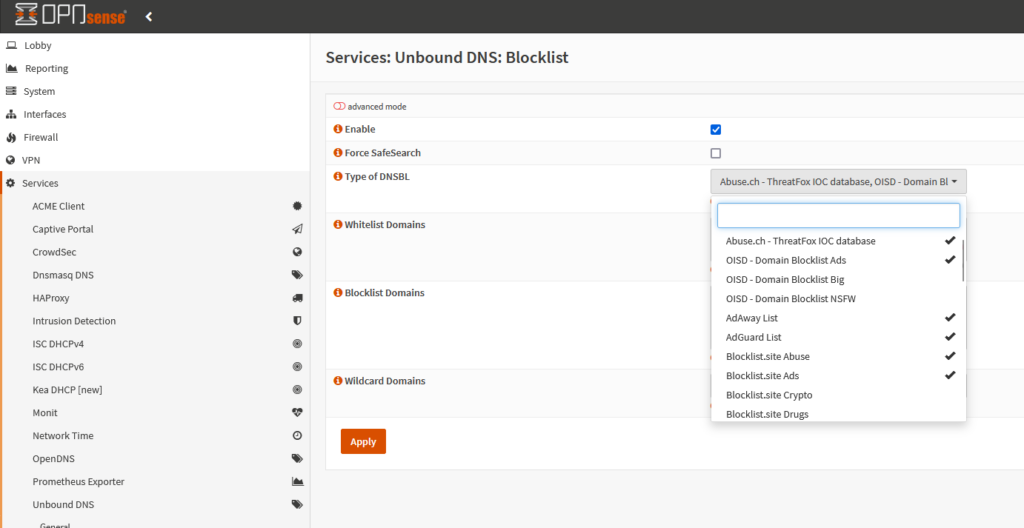
In Unbound, configuring blocklists is very simple and guided!
You can use these blocklists with both Pi-hole and Unbound.